NordVPN

In today’s digital age, protecting your online privacy and security is more important than ever. NordVPN is a leading name in the VPN industry, offering robust security features and easy-to-use applications across various devices. This step-by-step guide will walk you through the process of setting up NordVPN on Windows, macOS, Android, iOS, and your router.
Setting Up NordVPN on Windows
- Download the NordVPN Application:
- Visit the NordVPN website and download the Windows application.
- Install the Application:
- Open the downloaded file and follow the on-screen instructions to install NordVPN on your PC.
- Log In to Your Account:
- Launch the NordVPN application and log in using your NordVPN account credentials.
- Connect to a Server:
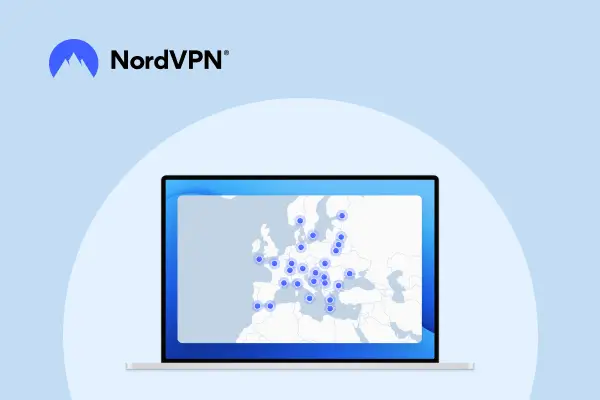
- Choose a server from the map or the list and click the ‘Quick Connect’ button to establish a secure connection.
- Customize Settings (Optional):
- Access the settings menu to customize your connection options, such as enabling the Kill Switch or choosing a specific VPN protocol.
Installing NordVPN on macOS

- Download the NordVPN Application:
- Go to the NordVPN website and download the macOS application.
- Install the Application:
- Open the downloaded file and drag the NordVPN icon to your Applications folder.
- Log In to Your Account:
- Open NordVPN from the Applications folder and log in with your credentials.
- Connect to a Server:
- Select a server from the map or the list and click the ‘Quick Connect’ button to connect to the VPN.
- Customize Settings (Optional):
- Open the settings menu to adjust preferences such as the Kill Switch, CyberSec, and VPN protocols.
Using NordVPN on Android
- Download the NordVPN App:
- Open the Google Play Store, search for “NordVPN,” and install the app.
- Log In to Your Account:
- Launch the NordVPN app and log in using your account details.
- Connect to a Server:
- Tap the ‘Quick Connect’ button to automatically connect to the best server available, or choose a server manually from the list or map.
- Customize Settings (Optional):
- Access the settings to customize your VPN experience, such as enabling CyberSec or choosing a specific VPN protocol.
Configuring NordVPN on iOS
- Download the NordVPN App:
- Open the App Store, search for “NordVPN,” and download the app.
- Log In to Your Account:
- Open the NordVPN app and log in with your NordVPN credentials.
- Connect to a Server:
- Tap the ‘Quick Connect’ button to establish a secure connection, or select a server from the map or list.
- Customize Settings (Optional):
- Access the settings menu to enable features like the Kill Switch and customize your VPN protocol preferences.
Setting Up NordVPN on Your Router
- Check Router Compatibility:
- Ensure that your router supports VPN configurations. Refer to the NordVPN website for a list of compatible routers.
- Access Your Router’s Admin Panel:
- Open a web browser and enter your router’s IP address to access the admin panel. Log in with your router’s credentials.
- Configure VPN Settings:
- Follow the specific instructions for your router model, which can be found in the NordVPN support section.
- Enter NordVPN Details:
- Input your NordVPN server details, username, and password as required.
- Save and Connect:
- Save your settings and reboot your router if necessary. Once rebooted, your router will be connected to NordVPN, securing all devices on your network.
By following these steps, you can easily set up NordVPN on a variety of devices, ensuring your online activities remain private and secure. Enjoy safe browsing with NordVPN!
Conclusion
Setting up NordVPN on various devices is a straightforward process that enhances your online security and privacy. Whether you are using Windows, macOS, Android, iOS, or even your router, NordVPN provides easy-to-follow steps to ensure you are protected across all your platforms. Secure your internet connection today with NordVPN and enjoy safe, private browsing on any device.
